Your customers in good hands


Review and track performance of your teams members and managers
Provide regular, constructive feedback through reviews that are development-oriented. Continuously track reviews accuracy through calibrations.
Upskill your employees in the flow of work
Offer coaching programs, workshops, and other learning opportunities to help your teams acquire new skills and knowledge.
Make them your standards to drive your frontline people performance.


Review and track performance of your teams members and managers
Provide regular, constructive feedback through reviews that are development-oriented. Continuously track reviews accuracy through calibrations.

Upskill your employees in the flow of work
Offer coaching programs, workshops, and other learning opportunities to help your teams acquire new skills and knowledge.

Made for all businesses
For Business Processing Outsources
Cherish your customer focus across bpos and borders and make sure they align with your values and needs
See use case
For Startups & Small Businesses
Nurture your up-close interactions with your customers and turn them into a gold mine of insights
See use case
For Mid-Markets & Enterprises
Champion your top-notch in-house support while navigating hypergrowth, multiple locations and time zones
See use case
For local autorities
Champion your top-notch in-house support while navigating hypergrowth, multiple locations and time zones
See use case
Made for all businesses
For Business Processing Outsources
Cherish your customer focus across bpos and borders and make sure they align with your values and needs
See use case
For Startups & Small Businesses
Nurture your up-close interactions with your customers and turn them into a gold mine of insights
See use case
For Mid-Markets & Enterprises
Champion your top-notch in-house support while navigating hypergrowth, multiple locations and time zones
See use case
For local autorities
Champion your top-notch in-house support while navigating hypergrowth, multiple locations and time zones
See use caseOne stop platform to manage performance


Measure what matters to you
Tailor your performance management to your unique needs. Adapt your performance management to what works best for you business and fits your company culture.
Ensure reviews adhere to industry rules
Seamlessly automate and scale your compliance, so you can focus on elevating quality beyond mere compliance and established standards.
Secure fairness at scale
Train and align your reviewers on accurate and objective evaluation standards and eliminate bias through calibration meetings.
Coach as part of your daily flow
Adopt an experience-based approach to learning and provide targeted guidance through micro-coaching and todo actions.
Connect granular data to the big picture
See how your company performance flows downwards to teams and individuals in a few clicks and capture learning and coaching needs.
Everything you need to boost performance management
Everything you need to boost performance management
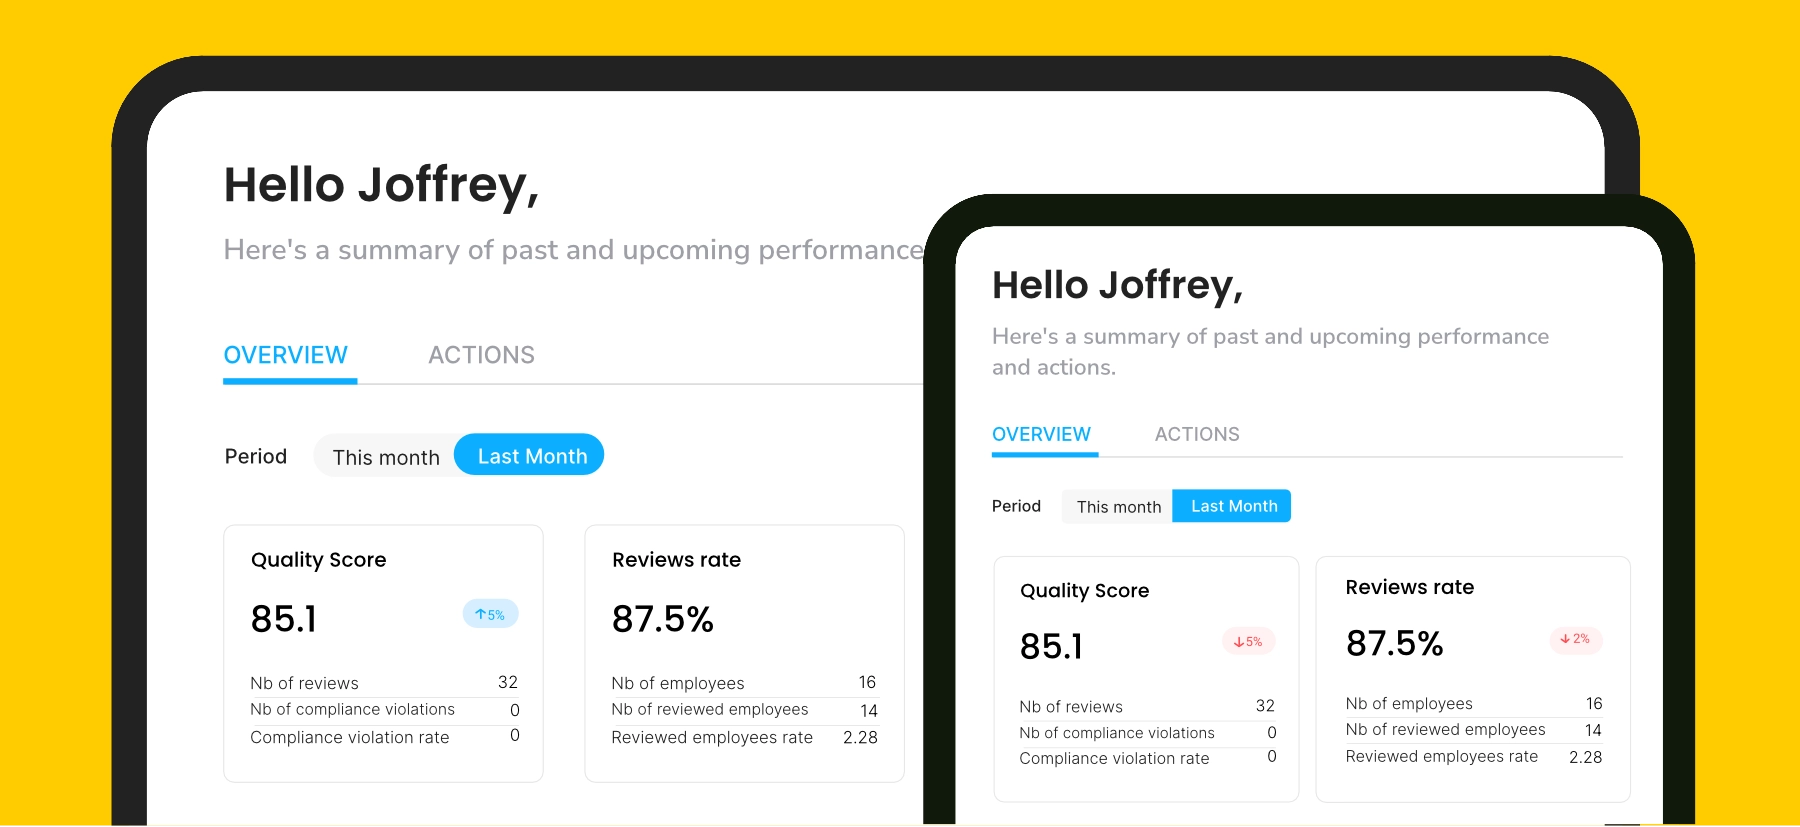
Built for efficiency
Use calibris with screens of all sizes
Scale with ease,
at every stage
Unlock effortless scale with a platform designed for seamless growth. Our intuitive design ensures your teams can easily expand as your business evolves and adapt to every step of the way.
Build it your
own way
Dive into our self-service REST APIs to seamlessly integrate Calibris with your internal systems and craft your unique solution for optimal efficiency
Get your tools working together like a charm
See all integrations


Have an impact on your teams so they can have bigger impact on your customers